OPENCLOCK-C3
A feature-rich smart clock built on the ESP32-C3 Super Mini. Wi-Fi time sync, live weather, OLED display faces, and a built-in web configuration panel — all in a tiny package.
A feature-rich smart clock built on the ESP32-C3 Super Mini. Wi-Fi time sync, live weather, OLED display faces, and a built-in web configuration panel — all in a tiny package.
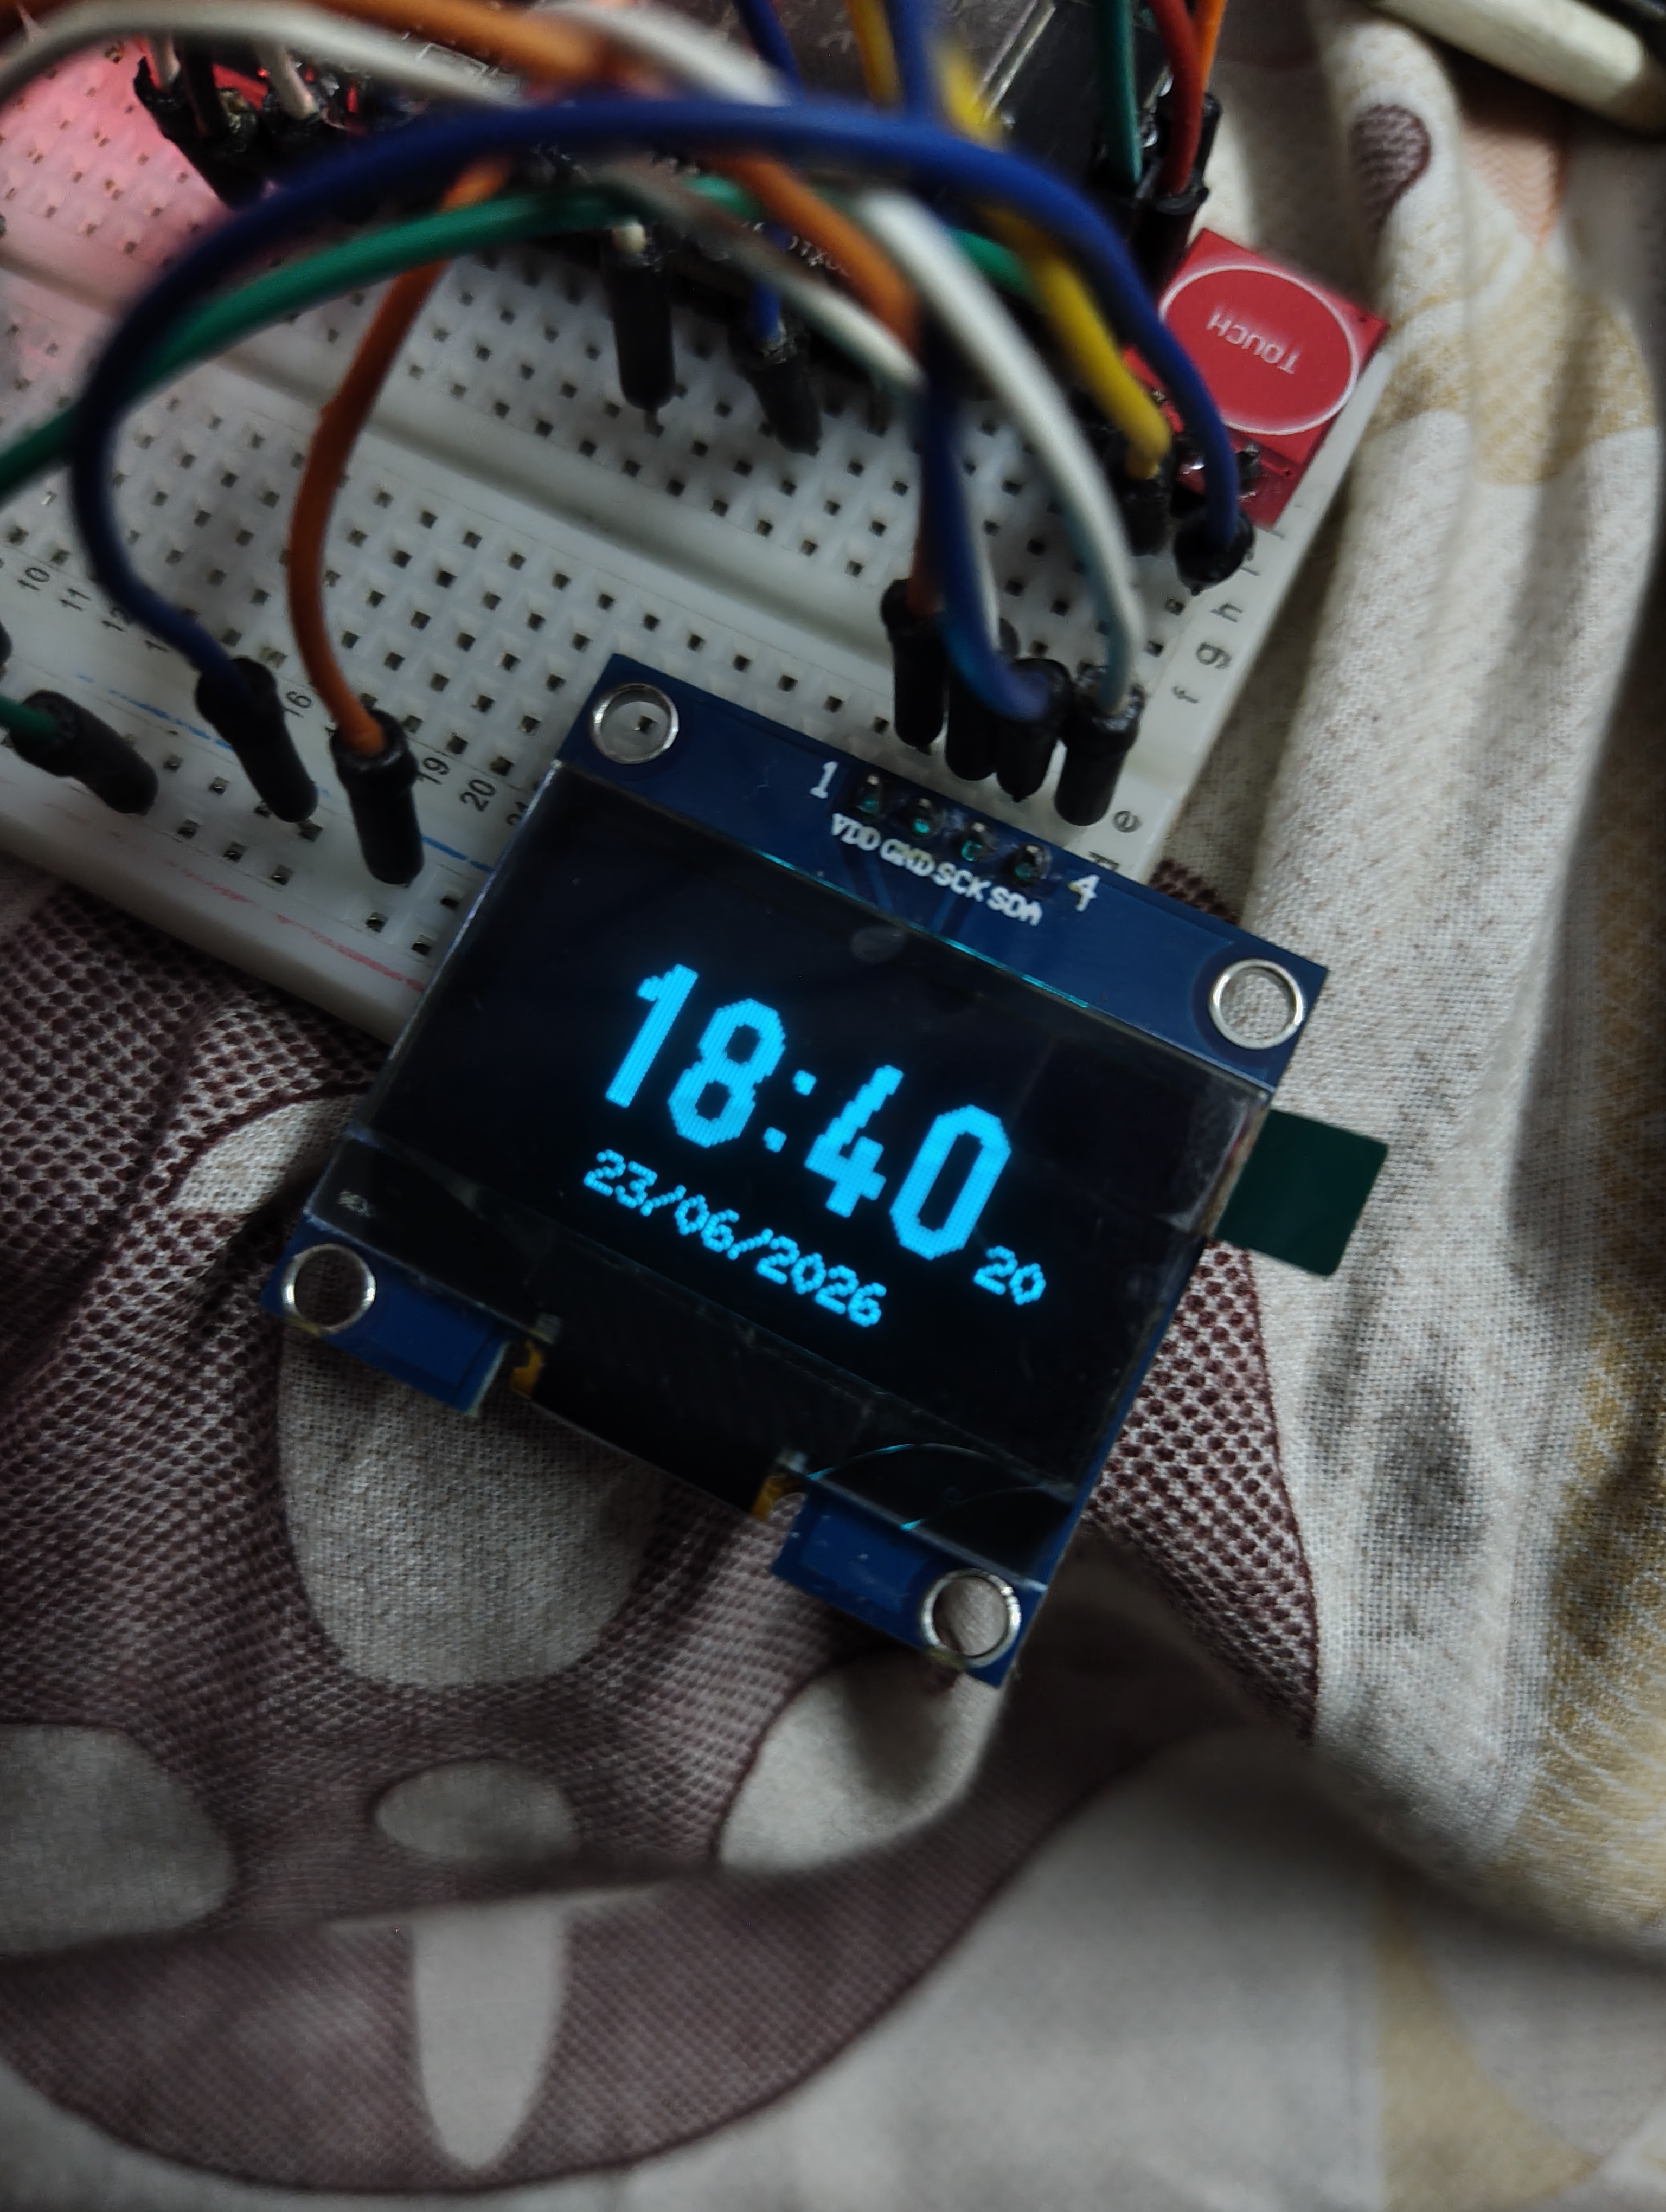
Time & Date Display
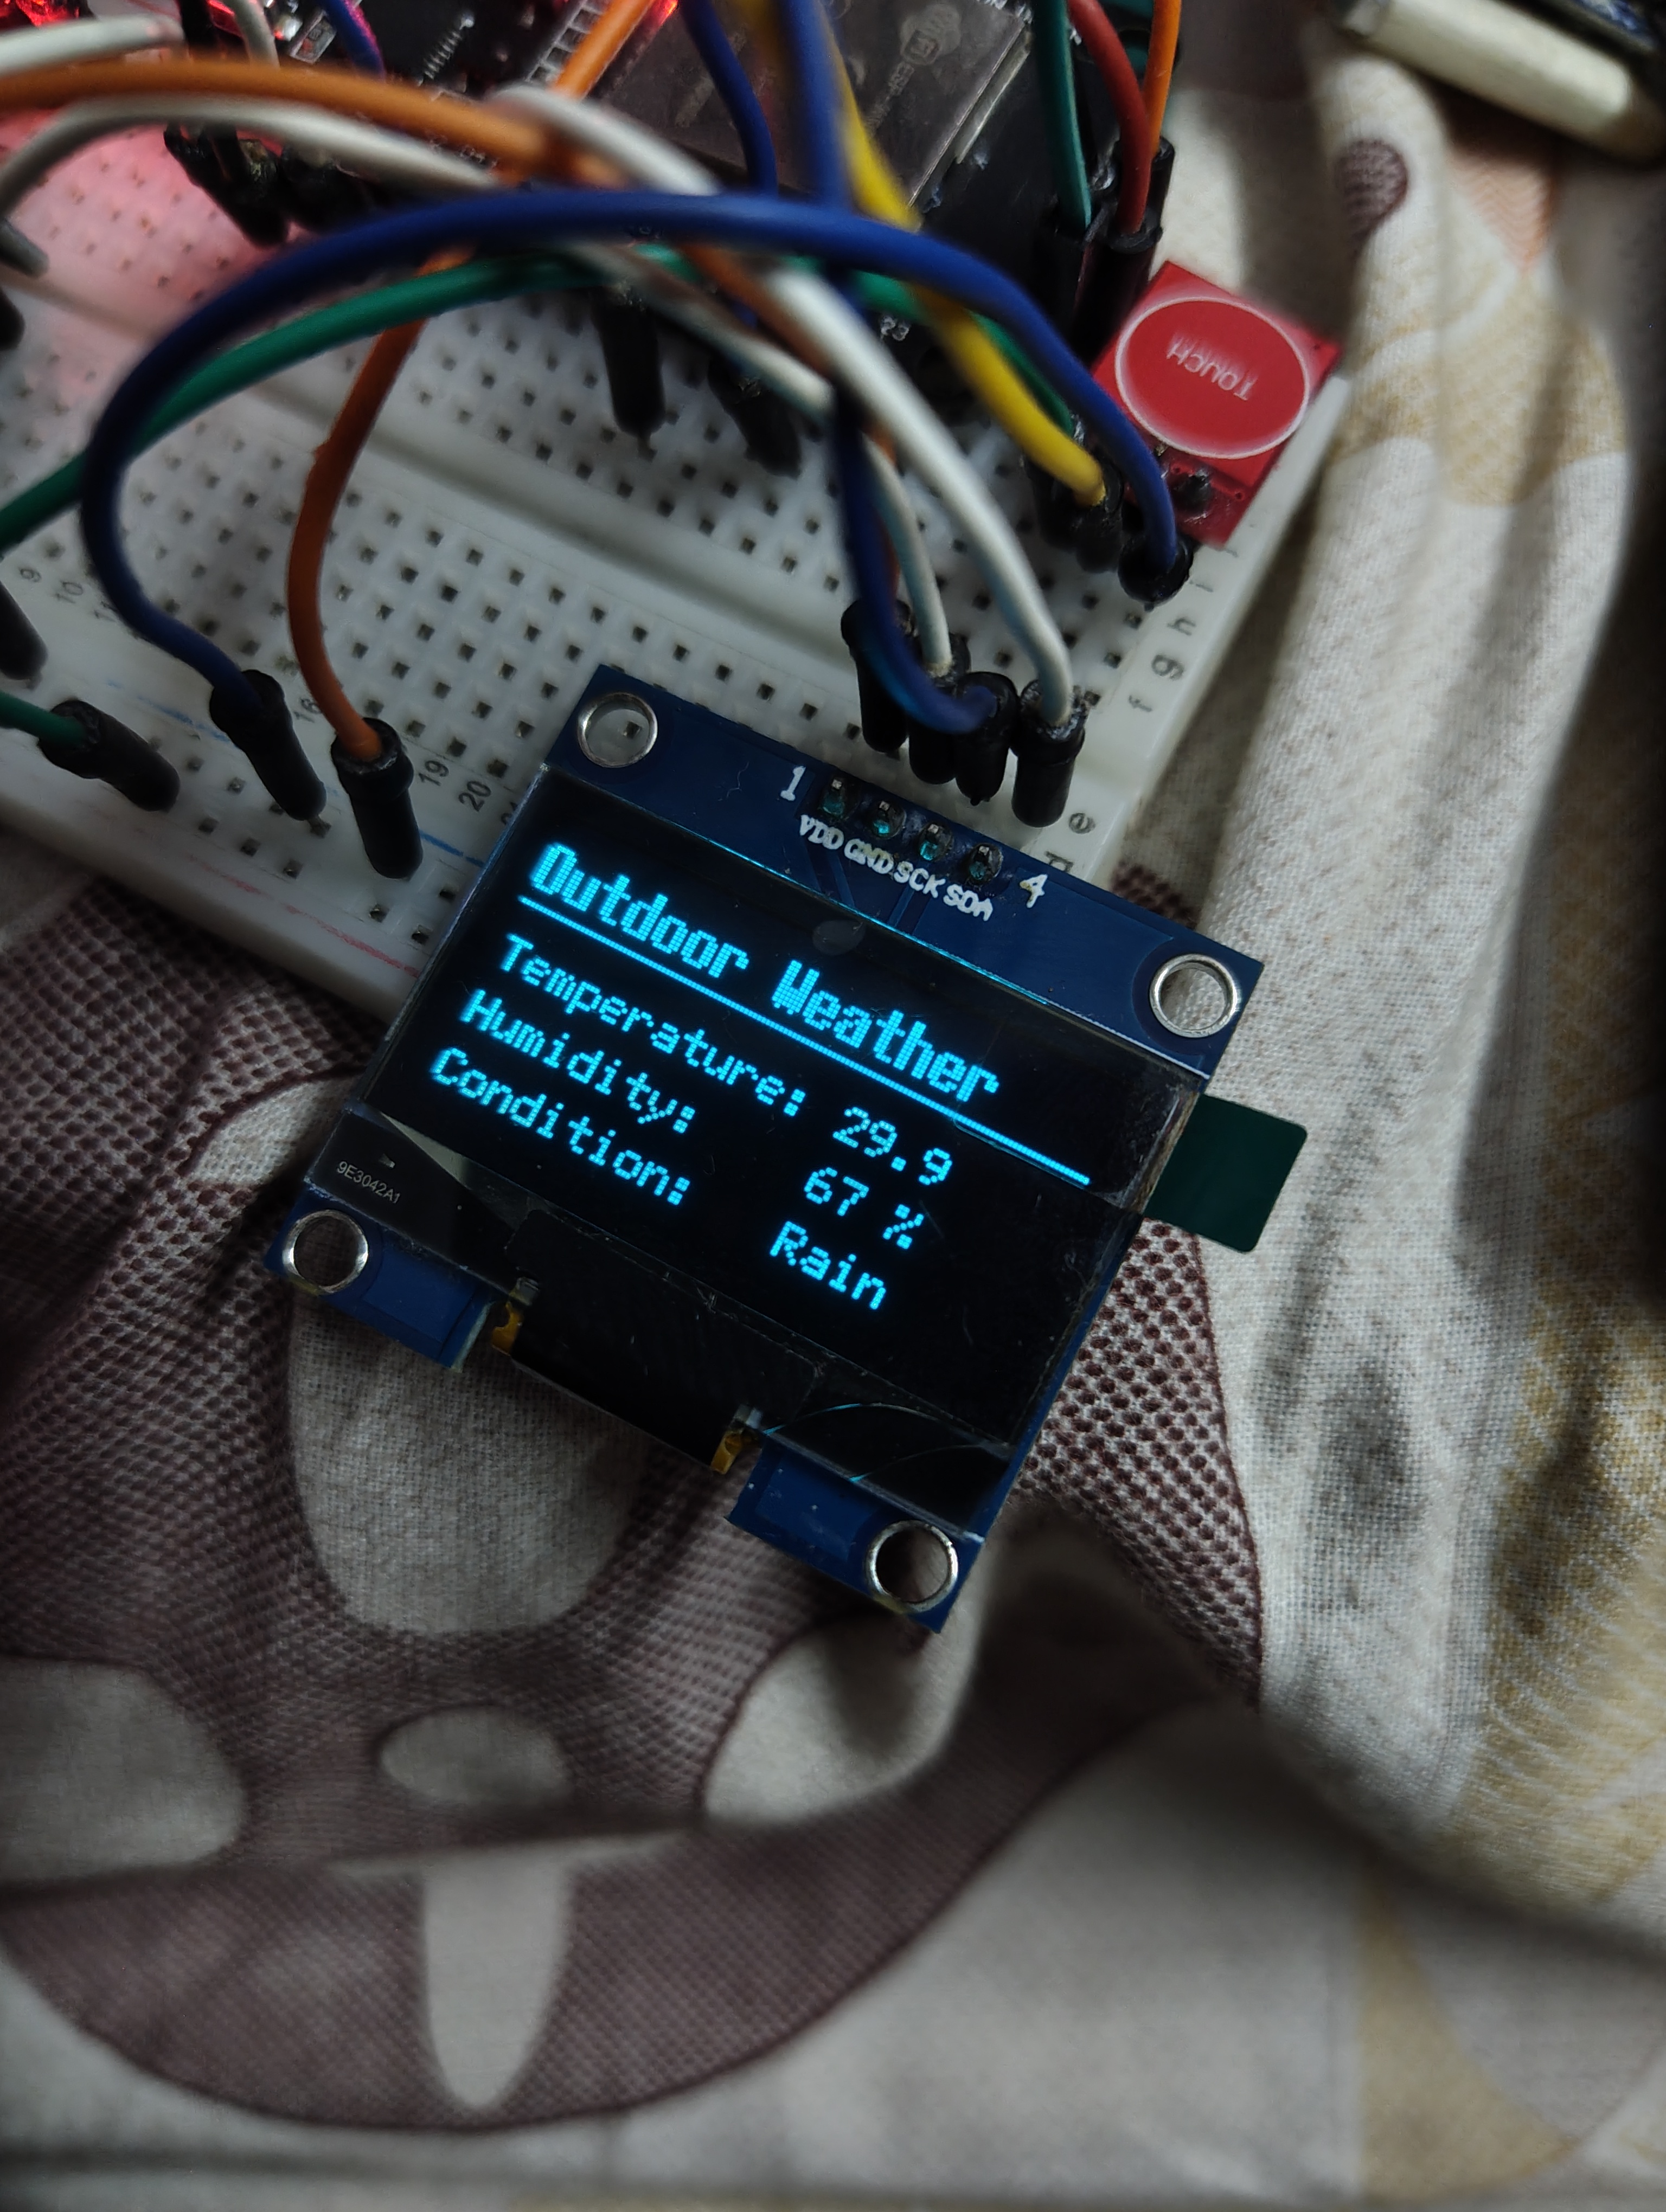
Weather Display
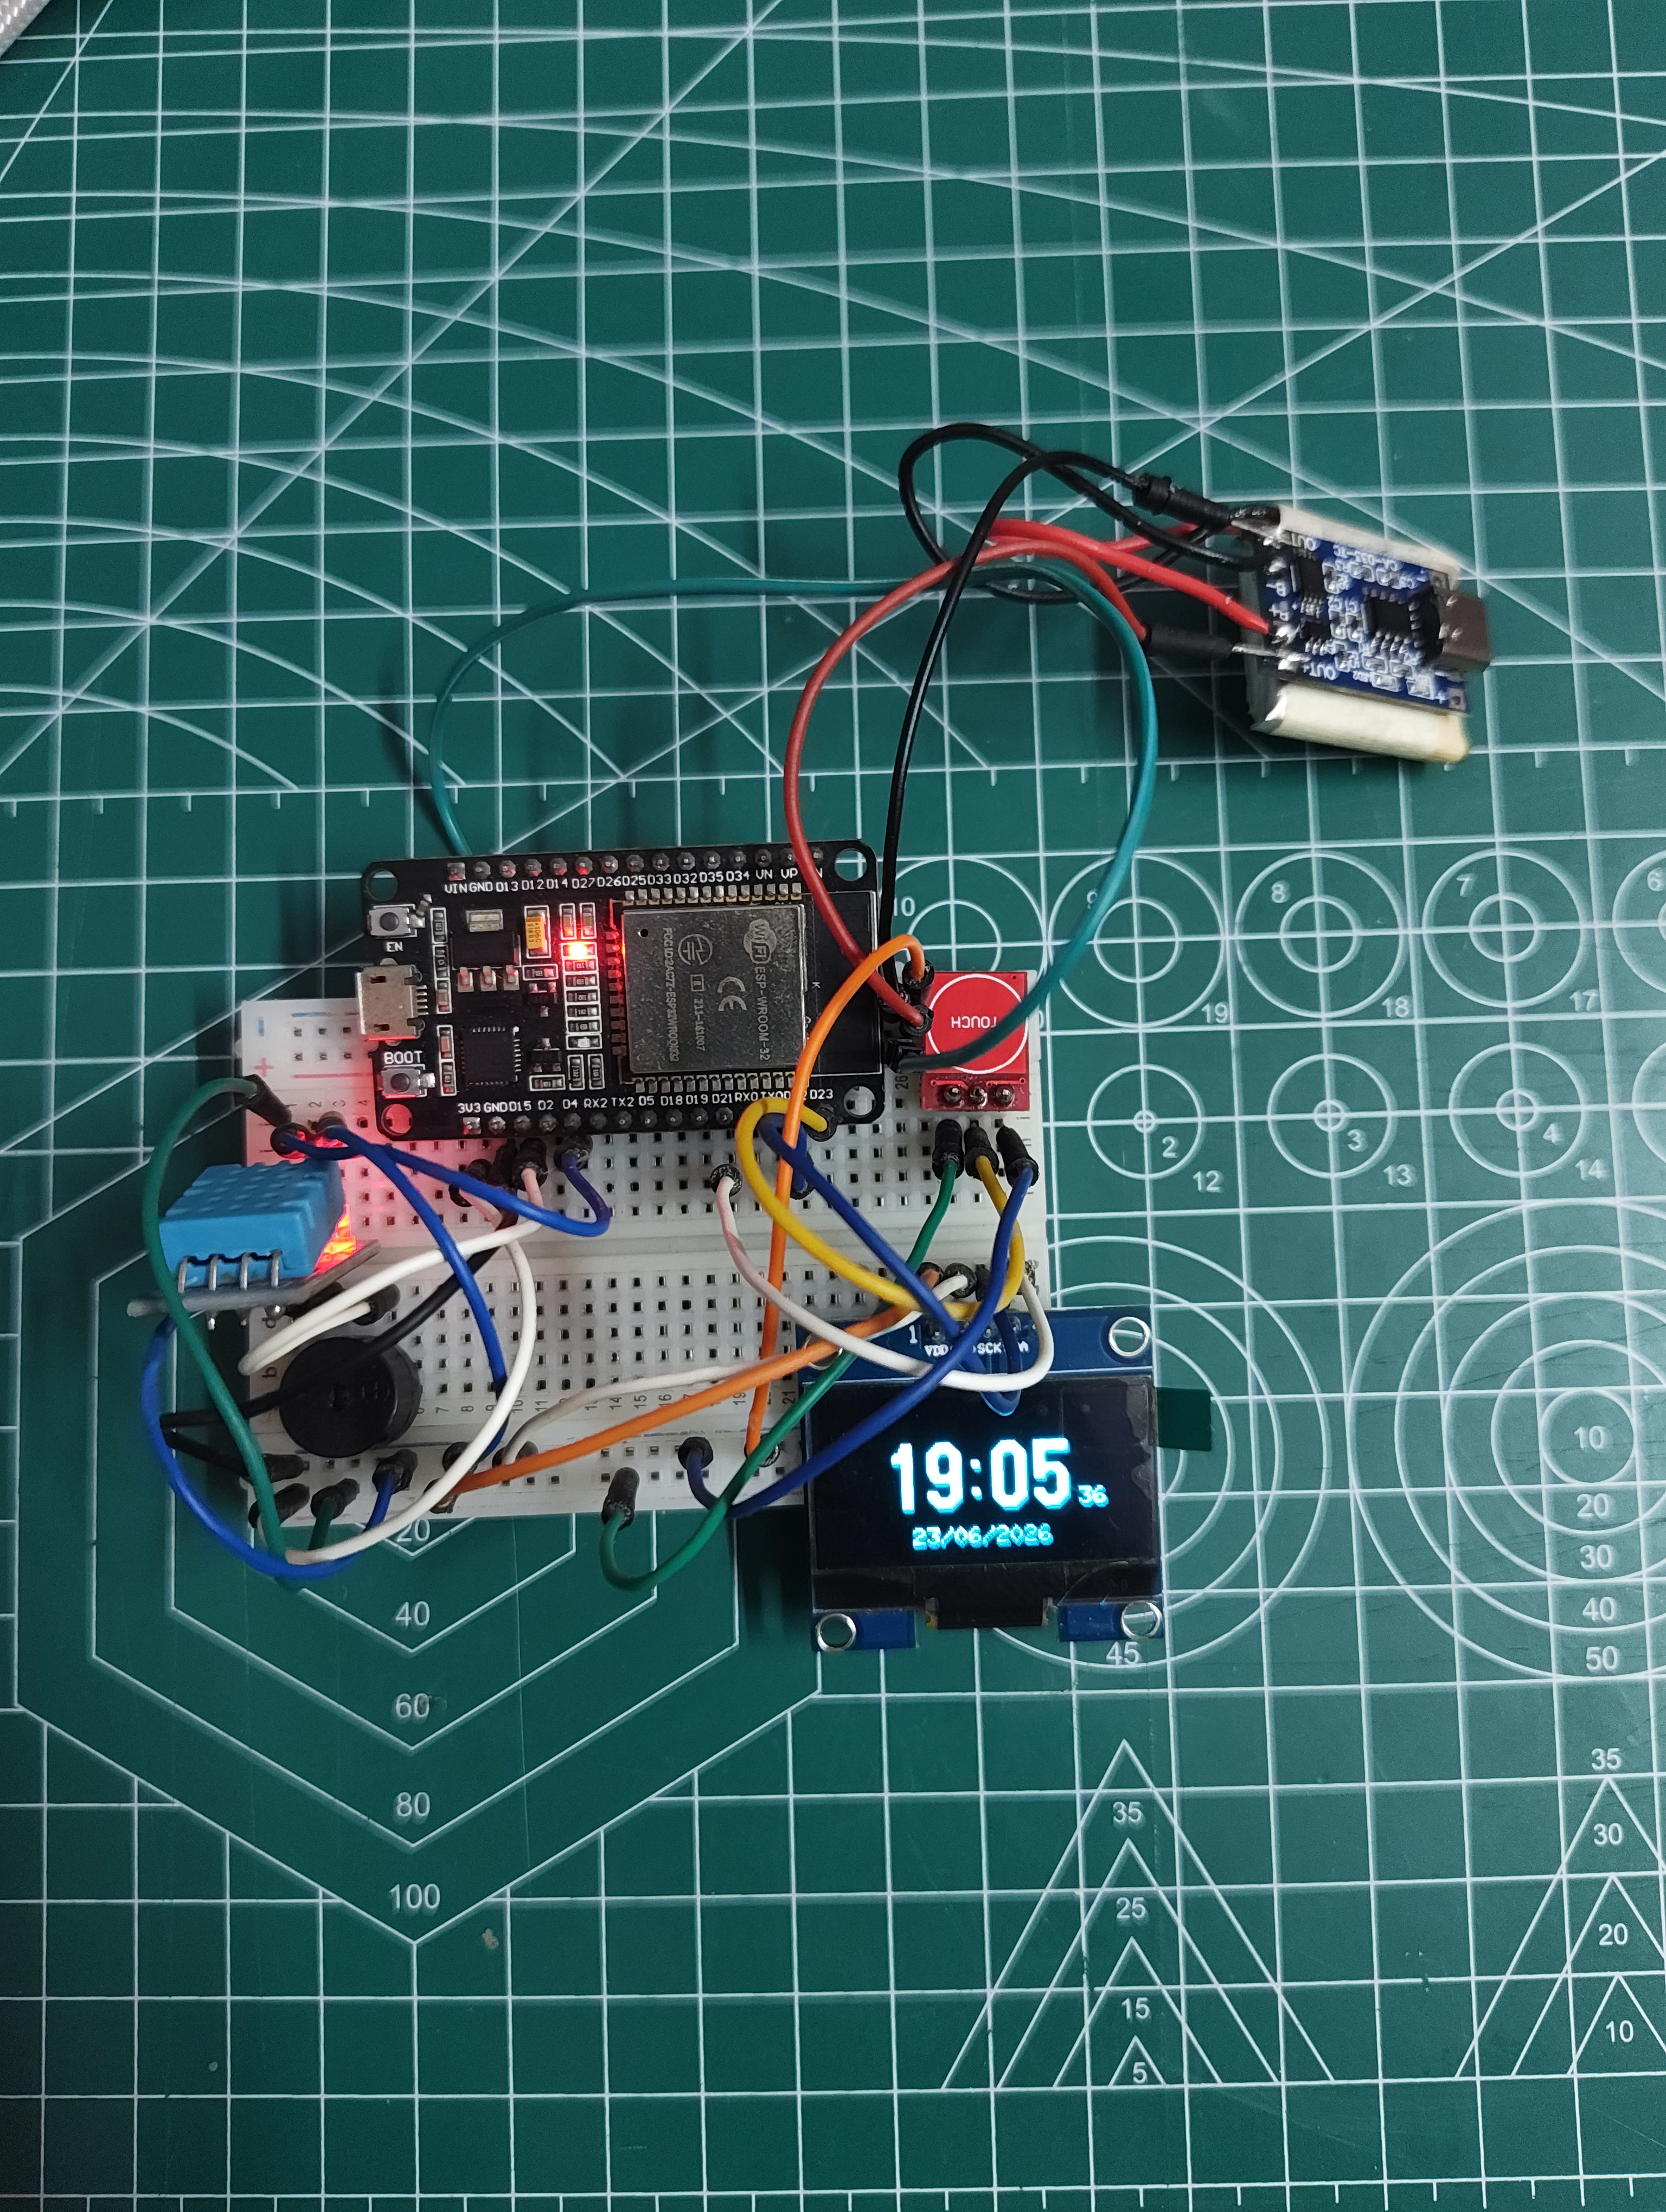
Hardware setup — ESP32-C3 Super Mini, SH1106 OLED, TTP223 touch sensor, and buzzer
Automatically fetches accurate time from NTP servers over Wi-Fi — no manual clock setting required.
Integrates with the OpenWeather API to show real-time outdoor temperature and conditions.
Built-in web server for easy setup — configure Wi-Fi, alarms, and time overrides from any browser.
Cycle through Time/Date, Weather, Alarm Config, and Diagnostics views with a single touch.
Configurable daily alarm with buzzer output — set and manage alarms through the web panel.
Telemetry subsystem with voltage divider for tracking battery levels and power status.
ESP32-C3 Super Mini
SH1106 OLED (128×64, I2C)
TTP223 Touch Sensor
Active/Passive Buzzer
Battery Voltage Divider (GPIO 3)
| Component | ESP32-C3 Pin | Notes |
|---|---|---|
| SH1106 OLED (SDA) | GPIO 8 | Hardware I2C |
| SH1106 OLED (SCL) | GPIO 9 | Hardware I2C |
| TTP223 Touch Pad | GPIO 7 | Digital input for face navigation |
| Buzzer | GPIO 6 | Digital output for alarm |
| Battery Voltage Divider | GPIO 3 | Analog input |
ESP32-C3
Arduino Framework
PlatformIO
U8g2
ArduinoJson
C++
Install PlatformIO as a VS Code extension or use the CLI.
Clone the repository and add your OpenWeather API key in the source code.
git clone https://github.com/shraman-c/OpenClock-C3.git Build the firmware and upload it to your ESP32-C3 Super Mini.
pio run -t upload Connect to the clock's Wi-Fi AP and open 192.168.4.1 in your browser to set Wi-Fi credentials, alarms, and more.
The core firmware containing hardware initialisation, network stack, web server, NTP client, weather API integration, and OLED display logic.
PlatformIO configuration defining the ESP32-C3 environment and library dependencies — U8g2 for OLED graphics and ArduinoJson for API parsing.
OpenClock-C3 is fully open-source. Fork it, customise the display faces, add your own sensors, and build a smart clock that does exactly what you need.